Share on facebook
Share on twitter
Share on skype
Share on email
Share on print


Cam kết bán hàng
- Sản phẩm chính hãng
- Tư vấn chuyên nghiệp
- Chi phí tối ưu
- Giao hàng toàn quốc
- Bảo hành tận nơi
Tổng quan sản phẩm

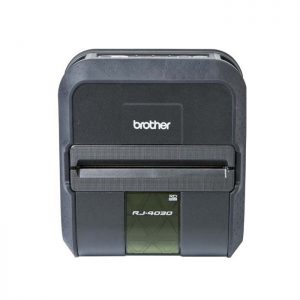
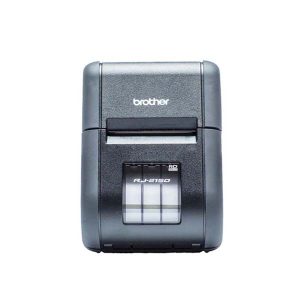
P-Touch E500VP
Máy in nhãn cầm tay công nghiệp
Máy in nhãn Brother PT-E300VP chuyên dùng cho thiết kế nhãn in chuyên nghiệp với các chức năng chuyên dụng cho các ứng dụng nhãn kỹ thuật, dễ dàng tạo nhãn bền cho faceplate, cáp, đơn vị tiêu dùng và các cài đặt điện và datacom khác.


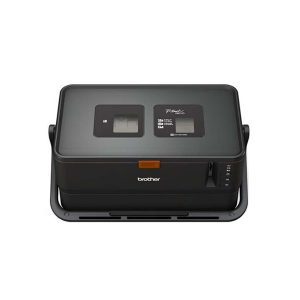
Cầm tay nhỏ gọn
Được thiết kế nhỏ gọn, nhiều tính năng tiện dụng và dễ thao tác cho phép nhanh chóng thiết kế và in các loại nhãn đánh dấu

Dán nhãn cuộn – cờ
Máy cho phép in các nhãn dán dạng cuộn và dạng cờ rất nhanh chóng với nhiều kích thước khác nhau

Màn hình LCD lớn
Màn hình lớn giúp máy hiển thị các thông tin được to và rõ ràng hơn (chữ số, mã vạch, biểu tượng…)

Cặp bảo vệ máy
Máy được trang bị cặp bảo vệ giúp đựng thêm các loại băng nhãn in và tiện lợi khi mang đi công trình
Đặc điểm nổi bật
Máy in nhãn Brother PT-E300VP được thiết kế như là 1 giải pháp đa năng với khả năng sử dụng linh hoạt trong ngành điện, viễn thông và thi công mạng, được trang bị pin sạc, AC adapter và cặp bảo vệ. Mành hình LCD cùng hệ thống bàn phím QWERTY và các nút tính năng đầy đủ giúp người sử dụng có thể nhanh chóng và dễ dàng trong việc thiết kế và in nhãn

Nhãn in khổ rộng
Từ 6-24mm cho phép in nhiều loại nhãn với kích thước linh hoạt

Màn hình LCD lớn
Dễ dàng thiết kế và xem nội
dung nhãn trước khi in

Nhảy số tự động
In nhãn với chữ hoặc số được
nhảy tự động
Tích hợp 384 biểu tượng
Bao gồm các biểu tượng trong ngành Điện, Viễn thông, AV, An ninh và An toàn


Cắt nhãn tự động
Nhãn khi in ra được sắp
xếp theo thứ tự

Thiết kế nhãn chuyên dụng
Nhanh chóng tạo các loại nhãn
thông dụng trên bề mặt thiết bị,
nhãn dạng cờ/dạng cuộn,
bảng phân phối.

In nhãn từ dữ liệu sẵn có
Tải dữ liệu từ máy tính cá nhân
và in nhãn ngay lập tức
Kết nối USB
Giúp in trực tiếp từ máy tính
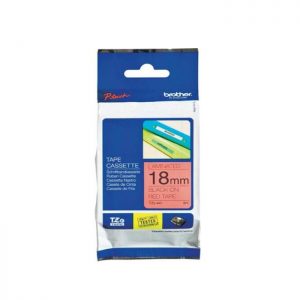
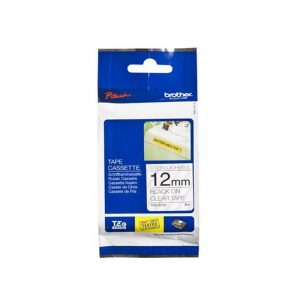
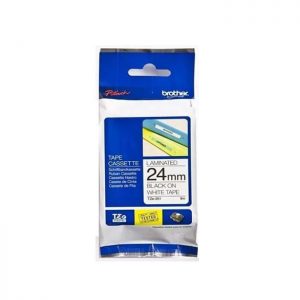
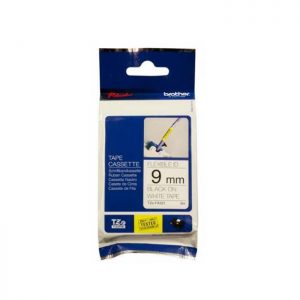
Nhãn có màng bảo vệ – siêu bền
Dòng in có màng bảo vệ TZe được cung cấp với nhiều màu sắc và kích thước. Lớp mực in nằm giữa 2 lớp màng film bảo vệ PET (polyester film), bảo vệ nội dung khỏi các tác động của hóa chất, ma sát, nhiệt độ, nước và ánh sáng mặt trời. Các chủng loại nhãn in này đạt các tiêu chuẩn quốc tế về chất lượng và độ bền phù hợp cho mọi yêu cầu về chất lượng


Thông số kỹ thuật
| HARDWARE | |||
| Loại nhãn | TZe; HGe; HSe | Khổ nhãn | 6-18 mm |
| Độ phân giải in | 180 dpi | Khổ in | 15,8 mm |
| Tốc độ in | 20 mm/s | Cắt nhãn | Thủ công |
| Kích thước(Rộng x Sâu x Cao) | 133 (w) x 220 (h) x 69 (d) | Trọng lượng | 740g |
| Màn hình hiển thị | 15 ký tự x 2 dòng | Bàn phím | QWERTY |
| Điện năng | Pin sạc AC Adapter | Kết nối máy tính | – |
| Kết nối mạng | – | Kết nối Wifi | – |
| FIRMWARE | |||
| Font chữ | 7 | Biểu tượng | 384 |
| Kích thước chữ | 7 | Kiểu chữ | 9 |
| Số dòng (max) | 5 | Chừa biên | 5 kiểu |
| In ngược | Có | Số bản in | 1 đến 50 |
| Nhảy số tự động | 1 đến 99 | Mã vạch | Có |
| Lưu nhãn từ máy tính | – | Kiểu nhãn | 6 |
| In dữ liệu kết nối | – | ||
| BỘ SẢN PHẨM | |||
| Phụ kiện theo máy | Máy in nhãn PT-E300, TZe-221, Cặp bảo vệ, Pin sạc AC Adapter, Hướng dẫn sử dụng | ||
| SOFTWARE | |||
| P-touch Editor | – | ||
Ứng dụng thực tế

Ngành điện – Tự động hóa

Viễn thông – Hạ tầng mạng
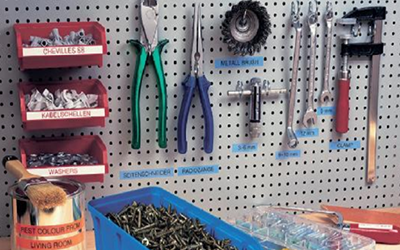
Nhà máy – Kho vận
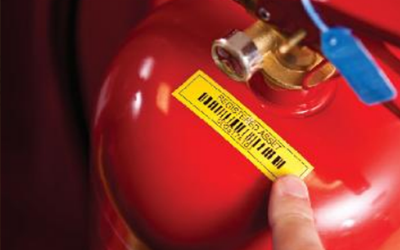
Quản lý tài sản

Bệnh viện – Cơ sở y tế

Siêu thị – Trung tâm mua sắm
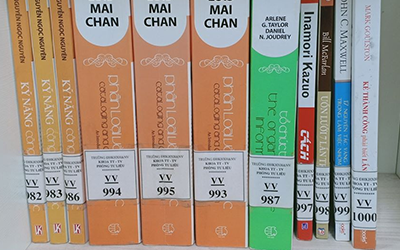
Thư viện – Trường học
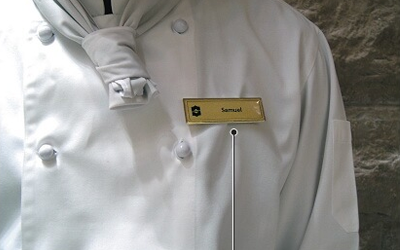
Nhà hàng – Khách sạn
Xem chi tiết
Hỗ trợ – Tải về
Câu hỏi thường gặp
How do I change the label length?
The label length can be specified as follows:
- Press the General (Labelling Application Type) key. The current settings are displayed.
- Select “Label Length” using the Up or Down arrow key, and then set a value for that attribute using the Left or Right arrow key.
- Press the OK or Enter key to apply the settings.
* New settings are NOT applied if you do not press the OK or Enter key.
This can happen when you install the tape cassette with the ink ribbon (black tape) loose, or pull out the printed tape by hand.
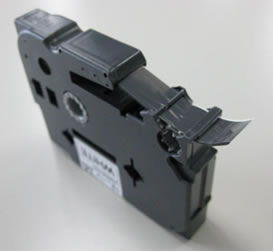
If the ink ribbon is not separated from the tape cassette, you can fix this by winding the spool to reel the ink ribbon as shown below.
- Be sure to wind the spool in the correct direction.
- If the ink ribbon is broken, you cannot reel it. Replace the tape cassette with a new one.

- Spool
Using a tape cassette with broken ink ribbon may cause the printer to break. Use a new tape cassette.
Please remember the following precautions for future use.
- Is the end of the tape fed correctly through the tape guide?
If not, feed the end of the tape under the tape guide as shown below.
- End of tape
- Tape guide
- Does the underside of the tape cassette completely touch the base of the compartment?
If the tape cassette is not installed correctly, the laminated tape may become misaligned, or the tape may get jammed in the printer. When installing the tape cassette, make sure that the entire underside of the tape cassette, especially near the tape exit, is touching the base of the compartment.
- End of tape
- Tape exit slot
- Do not pull the tape out of the tape exit slot.
Pulling out the tape by hand could cause the ink ribbon to come out with the tape.If you pulled out excessive length of tape, cut the tape with scissors only when the ink ribbon has not come out. Check that the end of the tape feeds under the tape guide, and then reinstall the tape cassette.- End of tape
- Tape guide
- Do not install the tape cassette with the ink ribbon loose.
If the ink ribbon is loose, use your finger to wind the spool in the direction of the arrow in the illustration below. Be sure to wind the spool in the correct direction.- Spool
- Do not cover the tape exit slot while printing.
- Do not cut the tape until printing and feeding are complete.
How do I set cut options and what features are they?
- Press the Style key to display the Label menu.
- Select “Cut Option” using the Up or Down arrow key, and then set the value by using the Left or Right arrow key.
- Press the OK or Enter key to apply the settings.
* New settings are NOT applied if you do not press the OK or Enter key.
Large Margin

- Each label is printed, leaving a margin of 24 mm/0.94″ on each end.
Small Margin
- A margin of 23 mm/0.91″ is fed before printing each label. The printed label has a margin of 4 mm/0.16″ before and after the text.
Chain

- Use this setting when printing several labels with minimum margins.
- A margin of 23 mm/0.91″ is printed first, and then each label is printed, leaving a margin of 4 mm/0.16″ before and after the text.
No Cut

- Use this setting when printing Heat Shrink Tube.
- Pressing the Shift key and then the Preview key feeds the last printed label and cut it.
How do I make a label with a barcode?
Set Bar Code Parameters and Enter the Bar Code Data
-
- Press the Bar Code key.
The Bar Code Setup screen is displayed.
* Up to five bar codes can be entered on a label.
- Press the Bar Code key.
-
- Select an attribute using the Up or Down arrow key, and then set a value for that attribute using the Left or Right arrow key.Characters may not appear below the bar code even when “On” is selected for “Under #”, depending on the tape width being used, the number of lines entered, or the current character style settings.
- Press the OK or Enter key to apply the settings.
* New settings are NOT applied if you do not press the OK or Enter key.
-
- Type in the bar code data.
Special characters can be entered in the bar code when using the CODE39, CODE128, CODABAR or GS1-128 protocols. When not using special characters, go to step 7.
- Type in the bar code data.
-
- Press the Symbol key.
A list of characters available for the current protocol is displayed.
- Press the Symbol key.
-
- Select a character using the Up or Down arrow key, then press the OK or Enter key to insert the character in the bar code data.
- Select a character using the Up or Down arrow key, then press the OK or Enter key to insert the character in the bar code data.
- Press the OK or Enter key to insert the bar code in the label.
The bar code is displayed on the text entry screen.
How do I type an uppercase letter?
- To type an uppercase letter:
- Press the Shift key to enter the Shift mode.
- Type the letter.
- To type uppercase letters continuously:
- Press the Caps key to turn the Caps mode on.
- Type the letters.
- To exit the Caps mode:
- Press the Caps key to turn Caps mode off.
- The Caps indicator will disappear.
Tải về Catalog sản phẩm
Tải về Phần mềm in nhãn
Tải về video sản phẩm
Tải về Hướng dẫn sử dụng